Michael Homepage How To
Homepage Groups
Remember to click the blue Update ![]() button in the top-right to save your changes.
button in the top-right to save your changes.
Hero
You can switch between Image or Video with the Toggle![]() . The Hero Overlay will add a filter over the Image Slider or Video to make the text more readable. The heavier the overlay, the darker the filter.
. The Hero Overlay will add a filter over the Image Slider or Video to make the text more readable. The heavier the overlay, the darker the filter.
Image
The image option allows for the Hero to be just a single image or a slider (up to 4 images). Whether you choose one or multiple images, the instructions are relatively the same.
- First, you need a Slide Image, click the Add Image button.
- The Select Image window will pop up. In the top-left, you can switch between Upload files and Media Library, which has all previous images uploaded to site).
- Once you select your desired image, click the Select button in the bottom-right corner.
- If so desired, you can add a Slide Title, but please keep it pretty short.
- If so desired, you can add a Slide Button for the user to click on to read more or go to a desired URL.
- Click the Select Link button and the Insert/edit Link window will pop up. Add the URL where you’d like the button to go and the Link Text will be the Button’s text.
- If the URL is going offsite (if the destination link has a different menu than your site’s) then it is best to check the Open link in a new tab box
- You can also search for content on your site and have the URL and Link Text generated for that Post/Page.
- To add more images, click the Add Slide button and repeat these steps.
- You can rearrange the Slides by clicking on the number on the vertical gray bar next to the options and dragging it above or below the other slides.
- To remove a slide, hover over the slide you wish to delete, and click on the Minus symbol
 on the right side of the slide and click Remove.
Video
The Video option for the Hero allows for it to play a video that you upload to the website. It is recommended that the video be no larger than 12-15MB and no longer than 30-40 seconds in length. Here are instructions for the Video Hero.
- Switch the Toggle to Video
- Add a webm or mp4 format video file.
- Click the Add File button
- The Select File window will pop up. In the top-right, you can switch between Upload files and Media Library (has all previous files uploaded to site).
- Once you select your desired video, click the Select button in the bottom-right corner.
- Image (Optional) Add an Image to be a placeholder until the video is loaded on the site. It is optimal to take a screenshot of the first frame of the video.’
- Click the Add Image button
- The Select Image window will pop up. In the top-right, you can switch between Upload files and Media Library (has all previous images uploaded to site).
- Once you select your desired image, click the Select button in the bottom-right corner.
- If so desired, you can add a Title, but please keep it pretty short.
- If so desired, you can add a Button for the user to click on to read more or go to a desired URL.
- Click the Select Link button and the Insert/edit Link window will pop up. Add the URL where you’d like the button to go and the Link Text will be the Button’s text.
- If the URL is going offsite (if the destination link has a different menu than your site’s) then it is best to check the Open link in a new tab box
- You can also search for content on your site and have the URL and Link Text generated for that Post/Page.
Featured Buttons
These buttons are just below the Hero of the Homepage. There is a minimum of 2 tiles and a max of 4. They can go to Pages, Posts, other sites, PDFs, etc.
Instructions
The featured buttons are meant to be links to things that your visitors should have quick access to; things that are searched for most often on your site should be within these buttons. E.g., Bulletins, Mass Times for Parishes and Schedule a Tour, Contact Us, Parent Portal for Schools. Instructions for use are below.
- Image – If the button is not filled in skip to 1.1 below, otherwise, if you’d like to change the image hover over the image and click the ‘x’ in the top-right corner of the image, then follow 1.1 below.
- The Select Image window will pop up. In the top-left, you can switch between Upload files and Media Library, which has all previous images uploaded to site).
- Once you select your desired image, click the Select button in the bottom-right corner.
- Click the Select Link button and the Insert/edit Link window will pop up. Add the URL where you’d like the button to go and the Link Text will be the Button’s text.
- If the URL is going offsite (if the destination link has a different menu than your site’s) then it is best to check the Open link in a new tab box
- You can also search for content on your site and have the URL and Link Text generated for that Post/Page
- To add more buttons, click the Add Featured Button button and repeat these steps.
- You can rearrange the Buttons by clicking on the number on the vertical gray bar next to the options and dragging it above or below the other featured buttons.
- To remove a button, hover over the button you wish to delete, and click on the Minus symbol on the right side of the button and click Remove.
Banner
There are different types of Banners you can display based upon the Selector dropdown. You can change these out for different periods of time if needed. E.g., Mass Times for Holy Week or Statistics for the Diocesan Appeal.
Selector, Title, Background, Text Color, & Links
- Enter the Title for the Banner Section this will display above the Selector item (recommended to keep this short, max of a couple words)
- Set a Background image if so desired. This will be shown behind the Selector item and the overlay is based on your site’s colors.
- Click the Add Image button.
- The Select Image window will pop up. In the top-left, you can switch between Upload files and Media Library (has all previous images uploaded to site).
- Once you select your desired image, click the Select button in the bottom-right corner.
- The Text Color will affect certain things based on the selector. Usually best to go with Primary, but you can tell the Primary, Secondary, Tertiary, and Quaternary colors by clicking on the “Start writing or type / to choose a block” area under the Homepage title and going to the Settings Sidebar and clicking on Block and going to Color Settings. The first four colors will be Primary, Secondary, Tertiary, and Quaternary respectively.
- Click the Select Link button and the Insert/edit Link window will pop up. Add the URL where you’d like the button to go and the Link Text will be the Button’s text.
- If the URL is going offsite (if the destination link has a different menu than your site’s) then it is best to check the Open link in a new tab box
- You can also search for content on your site and have the URL and Link Text generated for that Post/Page
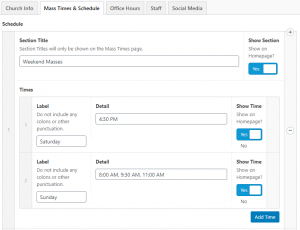
Selector: Mass Times
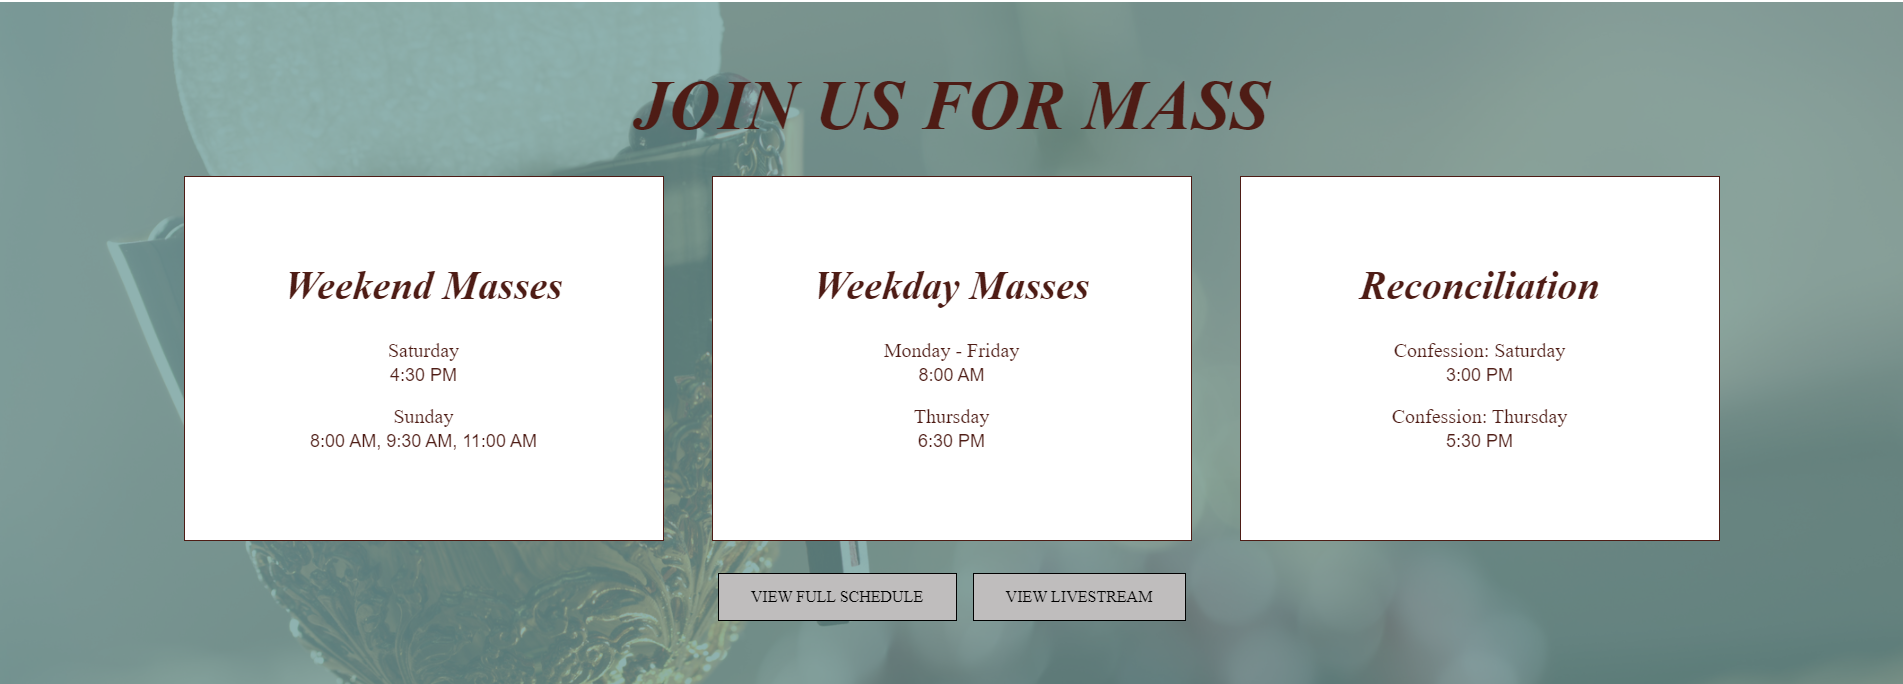
- Set the Selector dropdown to Mass Times
- Mass Times are set in the Theme Settings that can be found in the WordPress Menu and will show the Sections that are set to Show on Homepage and the Times that are set to Show on Homepage
Selector: Statistics
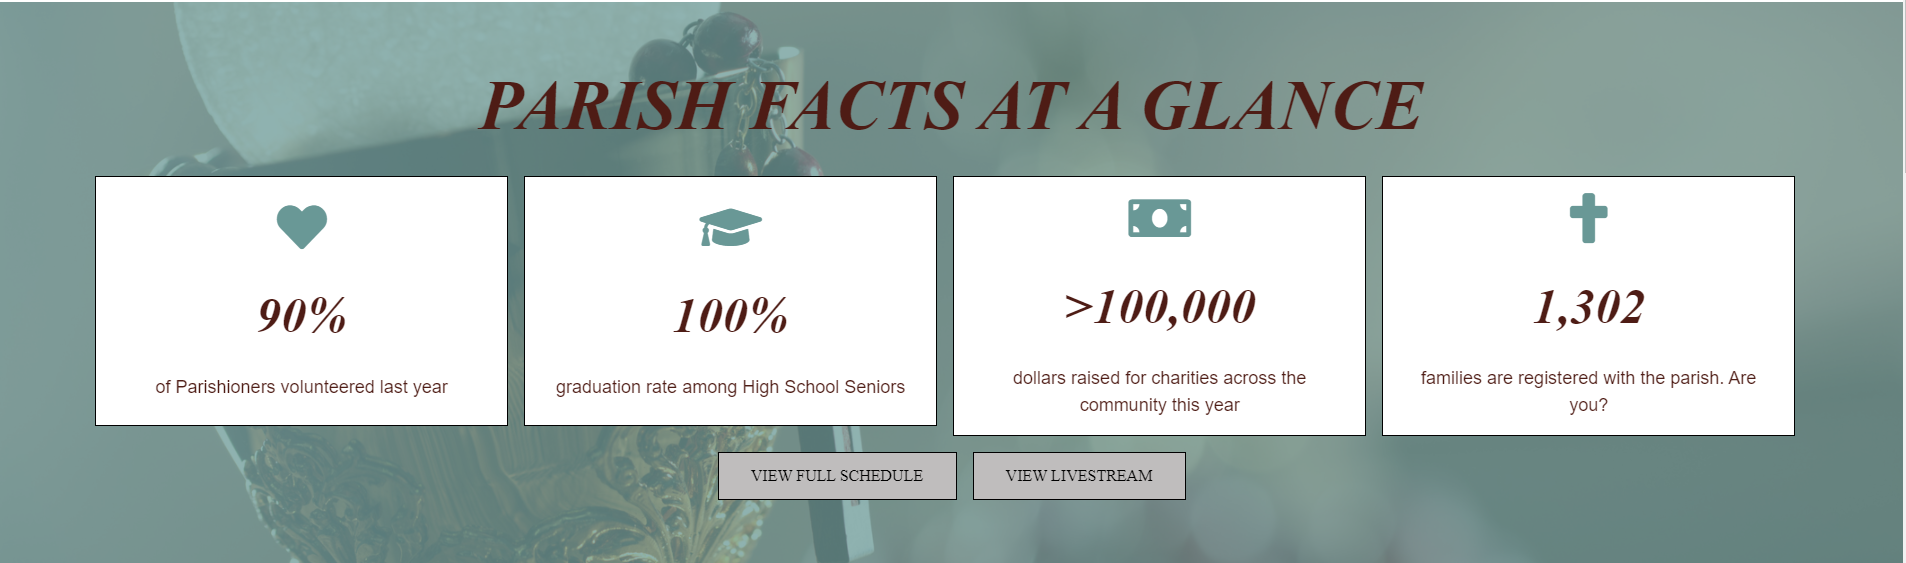
- Set the Selector dropdown to Statistics
- Set the Icon you wish to use for the Statistic
- Set the Number or Percentage
- Set the Text to go beneath the number
- To add more buttons, click the Add Stat button and repeat these steps.
- You can rearrange the Statistics by clicking on the number on the vertical gray bar next to the options and dragging it above or below the other slides.
- To remove a slide, hover over the slide you wish to delete, and click on the Minus symbol on the right side of the slide and click Remove.
Prayer Requests
Instructions
The Prayer Requests element on the Homepage is optional and will display only if the checkbox is checked.
- Link – Click the Select Link button and the Insert/edit Link window will pop up. Add the URL where you’d like the button to go and the Link Text will be the Button’s text.
- If the URL is going offsite (if the destination link has a different menu than your site’s) then it is best to check the Open link in a new tab box
- You can also search for content on your site and have the URL and Link Text generated for that Post/Page
- Image – This will be shown behind the large title for the Prayer Requests
- Click the Add Image button.
- The Select Image window will pop up. In the top-left, you can switch between Upload files and Media Library (has all previous images uploaded to site).
- Once you select your desired image, click the Select button in the bottom-right corner.
News
Instructions
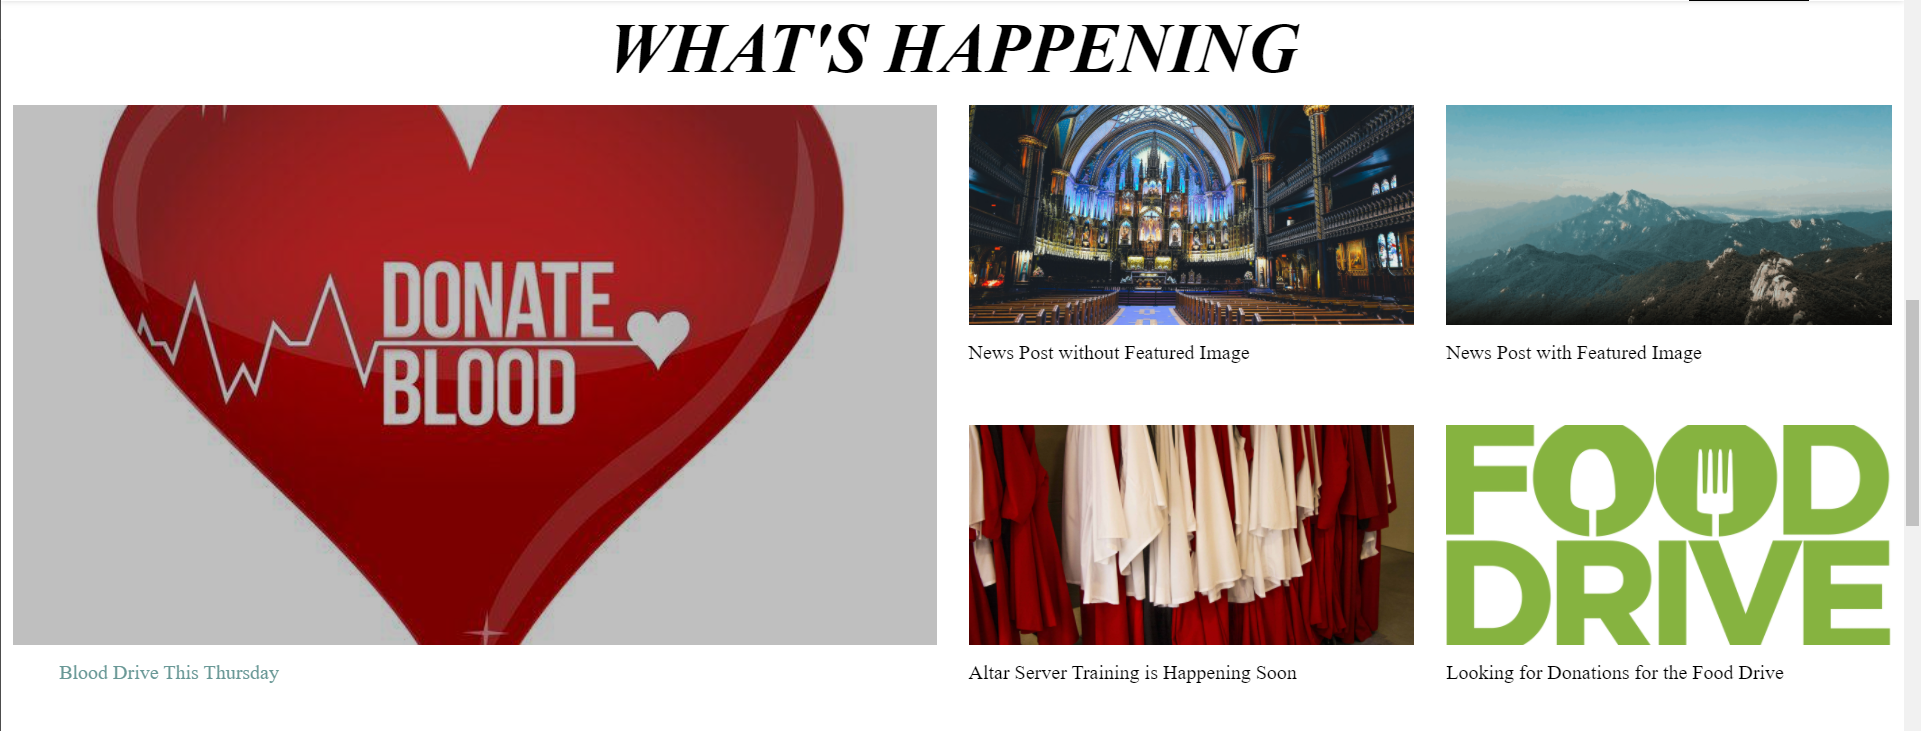
The News on the Homepage displays posts from a certain category and displays a View All button that, by default, will go to the category archive page that contains all posts in that category. The posts in the grid on the right side of the News section are done alphabetically and the large post on the left is selectable or will take in the most recently published post if a post is not selected.
- Type the Title for the News Section (keep it short).
- Choose the Featured Post (optional) to be shown as the big one on the left half of the screen. If nothing is selected, this will show the most recently published. Click the little ‘x’ next to the dropdown to unselect the post.
- You can replace the category archive button by linking it to somewhere else using the Button option and using the Select Link button. There are not many cases where this should be used, as this is automatically set to category’s archive page.
- The Category is a dropdown selector to choose a Post Category to display on the Homepage. Most of the time, this should be left to use either the News category, but you could change this to dedicated Homepage News category too, if desired.
Welcome
There are different types of Welcome Sections you can display based upon the Selector dropdown. You can change these out for different periods of time if needed. E.g., Mass Times for Holy Week or Statistics for the Diocesan Appeal.
Background, Content: Title, Text, & Link
- Set a Background image if so desired. This will be shown behind the Selector item and the overlay is based on your site’s colors.
- Click the Add Image button.
- The Select Image window will pop up. In the top-left, you can switch between Upload files and Media Library (has all previous images uploaded to site).
- Once you select your desired image, click the Select button in the bottom-right corner.
- Enter the Title for the Welcome Section this will display in different places based on the Selector item (recommended to keep this short, max of a couple of words.
- Enter the Text that you want to include for the content. This is meant for a description or instructions for the title or the selector item.
- Click the Select Link button and the Insert/edit Link window will pop up. Add the URL where you’d like the button to go and the Link Text will be the Button’s text.
- If the URL is going offsite (if the destination link has a different menu than your site’s) then it is best to check the Open link in a new tab box
- You can also search for content on your site and have the URL and Link Text generated for that Post/Page
Selector: Video
If you would like to add a video whether uploaded to the site (check Advanced Upload? box) or a YouTube video, by pasting the link in the Enter URL box.
If you choose the Advanced Upload method, follow the instructions in the Hero → Video accordion up above.
Selector: Image
- Click the Add Image button.
- The Select Image window will pop up. In the top-left, you can switch between Upload files and Media Library (has all previous images uploaded to site).
- Once you select your desired image, click the Select button in the bottom-right corner.
Selector: Newsletter
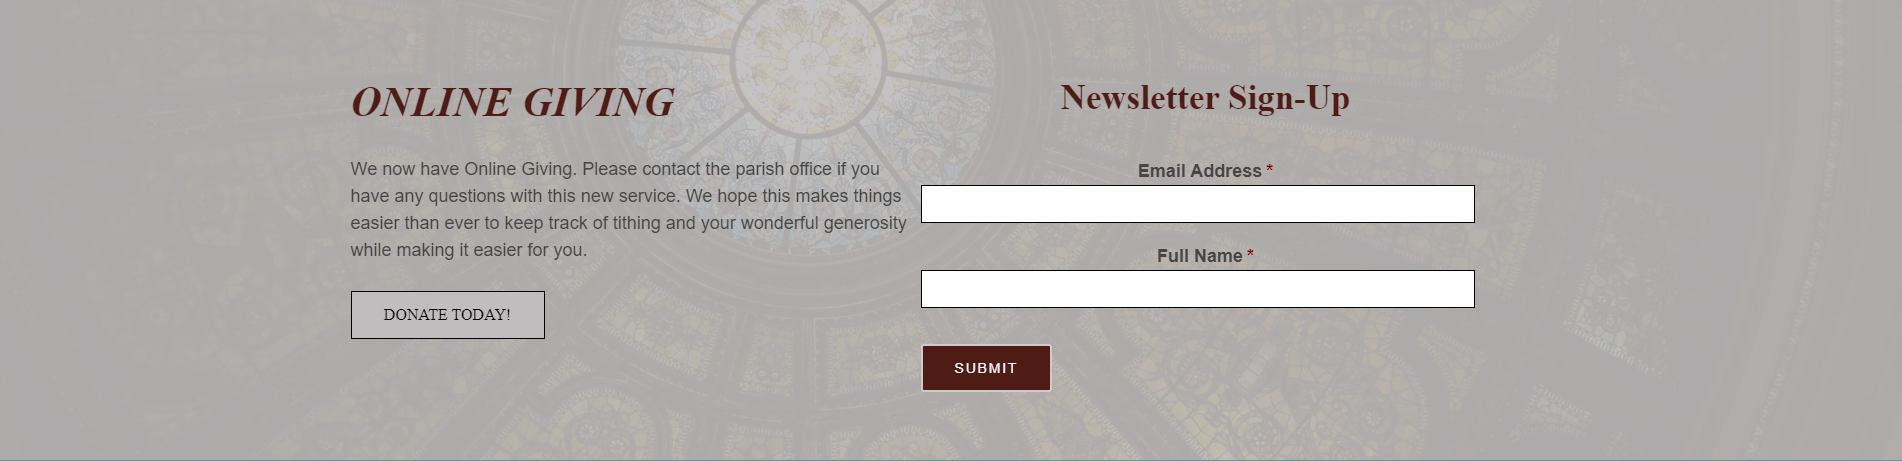
If you select Newsletter, this will accept a Gravity Forms shortcode. An easy way to set that is by copying this shortcode replacing the ID number with the one of the form you have, which can be found in the ![]() listing of all Forms. You can change “title” or “description” to “true” or “false” depending on what you want to show. Shortcode to copy (do not include the quotes): “
listing of all Forms. You can change “title” or “description” to “true” or “false” depending on what you want to show. Shortcode to copy (do not include the quotes): “
Contact Us
Selector: None
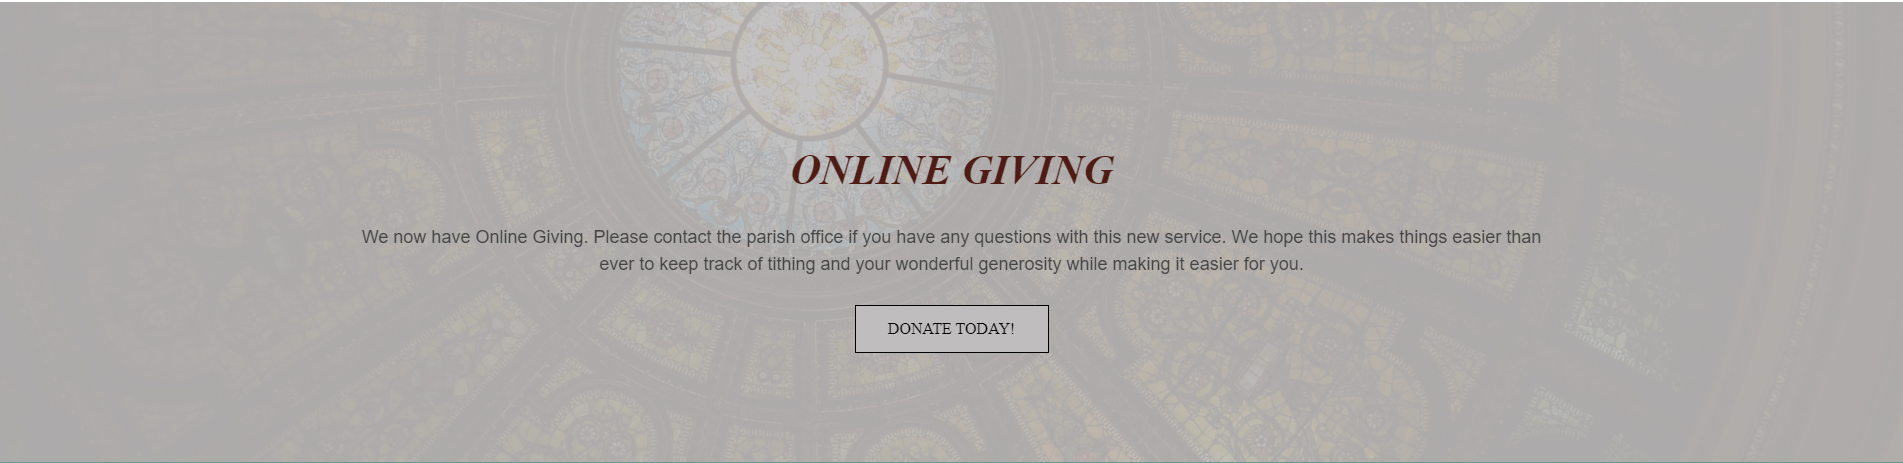
The None selector will show this as just a normal banner with an overlay over the background image and the Title as a heading followed by the Text as a description and the Button below that and all of this will be center-aligned as shown above.
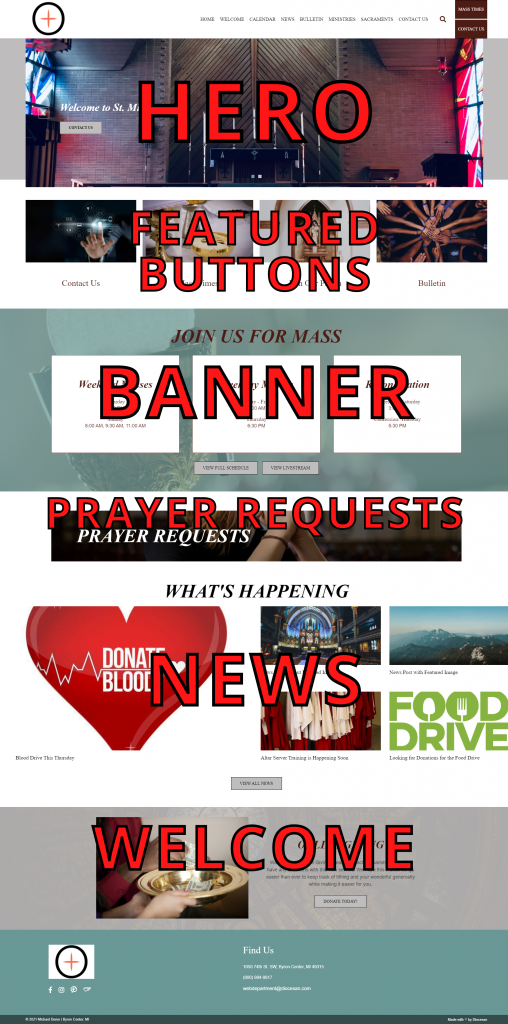
Below is what each group affects on the frontend